Drywall Finishing & Taping in Reno, NV
Reno Precision Drywall provides expert drywall finishing and taping in Reno, NV with over 20 years of precision finishing experience. Our multi-coat compound systems, proper drying protocols, and raking-light inspections produce smooth, professional surfaces that look flawless under any lighting condition.
From level 5 smooth finishes for critical lighting areas to knockdown and orange peel textures that match existing walls, we deliver the exact finish your project requires. Serving Reno, Sparks, Carson City, and Washoe County.
Drywall Finish Types
Level 5 Smooth Finish
The highest quality drywall finish available. We skim coat the entire surface with a thin layer of compound, creating a perfectly uniform substrate. Essential for areas with critical lighting such as hallways with downlights, high-gloss paint applications, and spaces where even minor imperfections would be visible.
Knockdown Texture
A spray-applied texture that is immediately flattened with a knockdown knife, creating a subtle, organic pattern with flat plateaus and slight valleys. Popular in modern homes for its clean appearance that hides minor imperfections while maintaining a refined look. Applied consistently across walls and ceilings.
Orange Peel Texture
A lighter spray pattern that creates uniform, small bumps resembling the surface of an orange. This is one of the most popular residential finishes because it provides consistent coverage, hides minor surface imperfections, and is easy to clean and repaint. Applied with controlled spray equipment for even distribution.
Three-Coat Finishing System
Professional drywall finishing is not one coat and done. Our three-coat system builds quality in layers, with each coat serving a distinct purpose and every coat inspected under raking light before the next is applied.
Tape Coat (First Coat)
The first coat beds the joint tape into compound, removing air bubbles and creating clean, flat edges along every seam. This foundation coat determines the quality of everything that follows. We use paper tape for most joints and mesh tape where additional flexibility is needed.
Block Coat (Second Coat)
The second coat fills any remaining depressions and begins feathering the compound outward to create smooth, gradual transitions. Applied wider than the tape coat, this layer builds the joint profile that will be invisible after painting.
Skim Coat (Third Coat)
The final coat applies a thin, wide layer of compound that feathers far beyond the joint line, creating a seamless transition between joint and drywall face. This coat is what makes joints disappear under paint. Proper dry time between each coat is critical for a lasting finish.
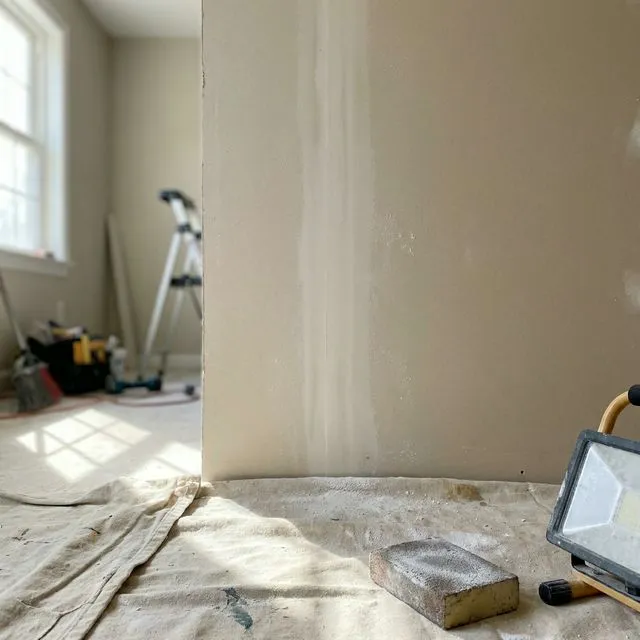
Raking Light Inspection
After each coat and after final sanding, we inspect every surface under raking light positioned at a sharp angle to the wall. This reveals imperfections invisible under normal conditions. Any issues are addressed before moving forward.
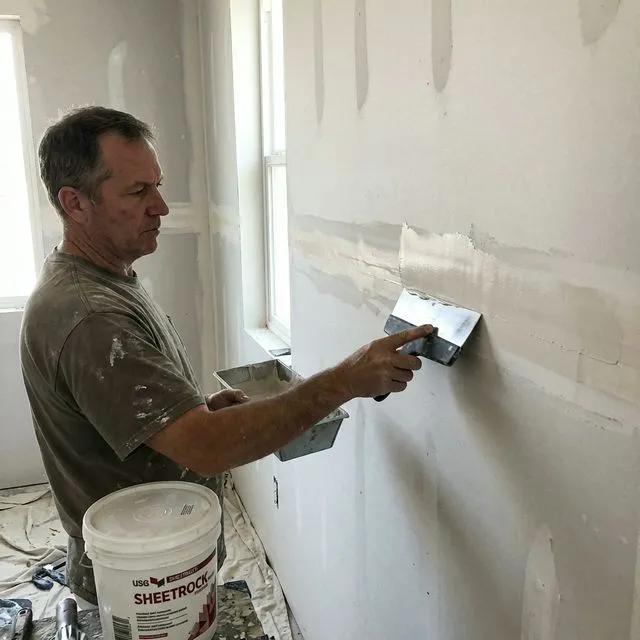
Tape Embedding
The first coat beds joint tape into wet compound, pressing out air bubbles and creating clean, flat edges. We use paper tape on flat joints and inside corners, and flexible mesh tape on areas prone to movement. Proper embedding prevents tape blistering and edge lifting that leads to visible seams after painting.
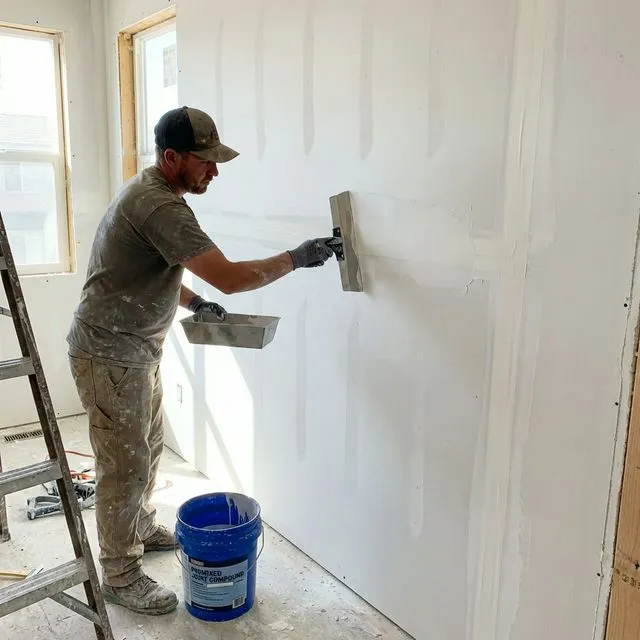
Multi-Coat Compound Application
Each successive coat is applied wider than the last, feathering compound edges progressively outward. The second coat fills, the third coat blends. We allow full dry time between coats and never rush the process. This progressive-width technique creates joints that are completely invisible after painting.
Final Sanding & Inspection
HEPA-filtered sanders capture dust at the source while producing a uniformly smooth surface. After sanding, we run raking light across every wall and ceiling to catch imperfections that standard lighting misses. Touch-up compound is applied to any areas that need attention before the surface is declared paint-ready.
Drywall Finishing Process
Surface Preparation
We inspect all hung drywall for protruding fasteners, loose panels, and damaged edges. Any issues are corrected before taping begins. Dust and debris are removed from seams to ensure proper tape adhesion and compound bonding.
Tape Embedding
Joint tape is bedded into wet compound on every seam, inside corner, and butt joint. Paper tape on standard joints, mesh tape where flexibility is needed. Air bubbles are pressed out and edges are cleaned for a flat foundation.
Compound Application (2-3 Coats)
Each coat builds on the last with progressively wider application. Full drying time between coats prevents shrinkage cracking and ensures a solid bond. Screw dimples and corner beads receive the same multi-coat treatment as flat joints.
Sanding & Texture
HEPA-filtered sanding produces a dust-controlled, smooth surface. Texture is applied if specified, whether knockdown, orange peel, or another pattern. We match existing textures precisely when working on additions or renovations.
Final Inspection
Every surface is examined under raking light. We walk through the finished space with you, address any concerns, and confirm the surface meets the specified finish level before declaring it paint-ready.
Drywall Finishing & Taping FAQs
What finish levels are available?
How many coats of compound do you apply?
How long do you wait between coats?
What is the difference between knockdown and orange peel?
Can you match the texture on my existing walls?
Ready for flawless drywall finishing?
Get a detailed estimate for drywall finishing and taping in Reno. Professional results, no shortcuts.