Drywall Installation in Reno, NV
Reno Precision Drywall provides professional drywall installation in Reno, NV with over 20 years of hands-on experience. From new construction framing to home additions and full renovations, our crews deliver precise hanging, proper fastening patterns, and staggered joints that produce flat, stable walls ready for finishing.
We handle residential and commercial projects across Reno, Sparks, Carson City, and the surrounding Washoe County communities. Every installation follows manufacturer specifications for screw spacing, panel orientation, and joint placement.
Drywall Installation Services
Residential Drywall Installation
New homes, room additions, and single-room projects. We hang drywall on walls and ceilings with correct screw patterns, proper panel staggering, and tight butt joints. Our residential crews protect your flooring and furnishings, contain dust with plastic barriers, and clean up at the end of every work day.
Commercial Drywall Installation
Office buildouts, retail spaces, and tenant improvements on metal stud framing. We install fire-rated assemblies, sound-rated partitions, and multi-layer systems that meet commercial building codes. Our crews coordinate with general contractors and other trades to stay on schedule without sacrificing quality.
Renovation & Addition Drywall
Adding a room, converting a garage, or gutting an existing space requires drywall that blends with the original structure. We match wall thickness, panel type, and finish level so new sections are indistinguishable from the rest of the home. Seamless transitions at every junction point.
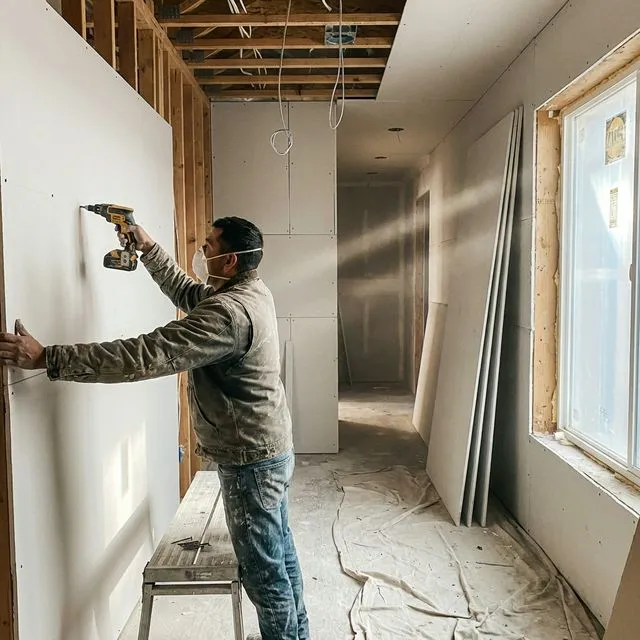
Proper Hanging Technique Matters
The difference between a quality drywall job and a mediocre one comes down to technique. Our installation crews follow strict protocols that prevent callbacks and produce walls that stay flat for decades.
Ceilings First, Then Walls
We always hang ceiling panels before wall panels. This creates tighter joints at the wall-ceiling junction and provides structural support where gravity works against the installation.
Correct Screw Spacing
Every screw is driven to the correct depth at manufacturer- specified intervals. Overdriven screws break the paper face and lose holding power. Underdriven screws create bumps that show through the finish coat.
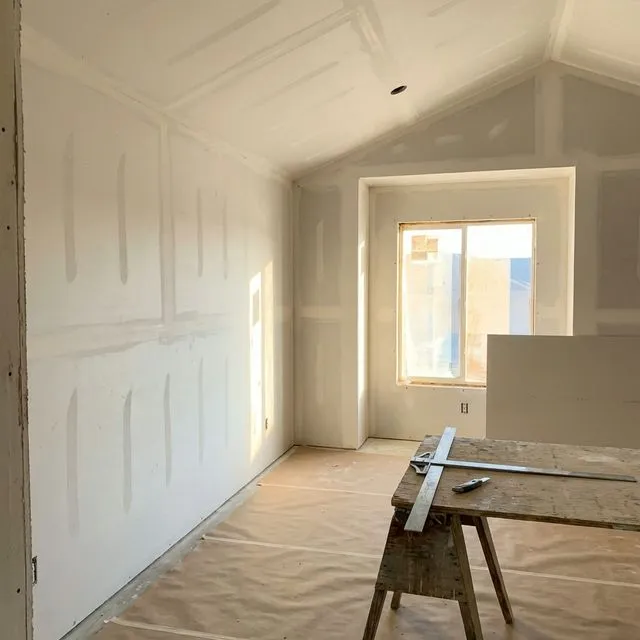
Staggered Joint Layout
We stagger all panel joints so seams never align across adjacent sheets. This distributes structural stress, reduces visible cracking over time, and produces a stronger wall assembly that handles settling and vibration.
Licensed, Insured, Permitted
Full liability insurance on every project. We pull permits when required by Washoe County building codes and coordinate inspections so your project stays compliant from start to finish.
Proper Hanging Technique
Ceilings hung first, walls second. Correct screw depth at every fastener. Staggered joints across all panels. Back-blocking at butt joints on ceilings. These are the fundamentals that separate professional installation from rushed work, and they prevent cracking, nail pops, and uneven surfaces years down the road.
Efficient Crew Coordination
Our hanging crews and finishing crews work in coordinated phases. Hanging is completed section by section, followed immediately by taping and mudding. This phased approach minimizes total project time while allowing proper drying between compound coats.
Clean Jobsite Practices
Dust containment barriers go up before the first panel is cut. HEPA-filtered sanders capture airborne particles during finishing. Scrap drywall and packaging are removed daily. We leave your space broom-clean at the end of every work day, not just when the project wraps up.
Drywall Installation Process
Assessment & Planning
We measure every wall and ceiling, identify framing issues, check for plumbing and electrical clearances, and calculate exact material quantities. You receive a written scope of work with a clear timeline before we begin.
Material Selection
Standard 1/2-inch panels for most walls, 5/8-inch for ceilings and fire-rated assemblies, moisture-resistant board for bathrooms and kitchens. We select the right panel type, length, and thickness for each area of your project.
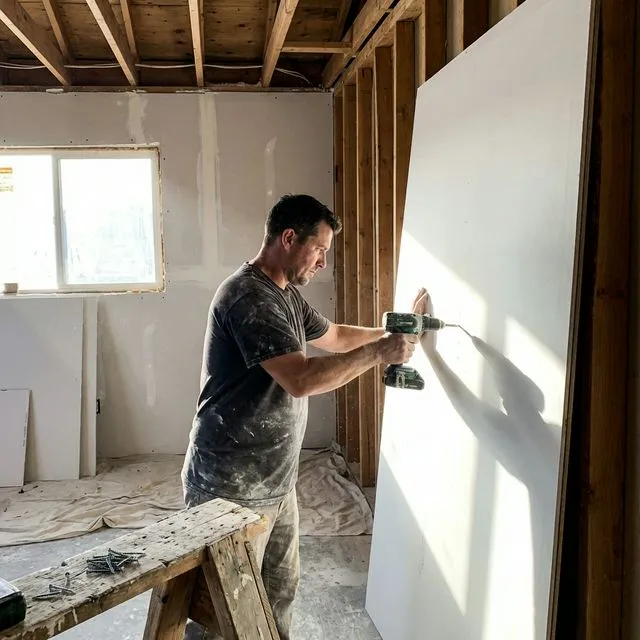
Professional Installation
Panels hung with correct orientation, proper fastener spacing, and staggered joints. Ceilings first, then walls. Cut-outs for outlets, switches, and fixtures are precise and tight. Every seam is taped and receives multiple coats of joint compound.
Finishing & Inspection
After final sanding, we inspect every surface under raking light to catch imperfections invisible under normal conditions. We walk through the finished project with you, address any concerns, and leave the space clean and paint-ready.
Drywall Installation FAQs
How long does drywall installation take?
What types of drywall do you install?
Do you handle both hanging and finishing?
Can you match the texture on my existing walls?
Are you licensed and insured in Nevada?
Ready to start your drywall project?
Get a detailed estimate for drywall installation in Reno and the surrounding areas. No pressure, no obligations.